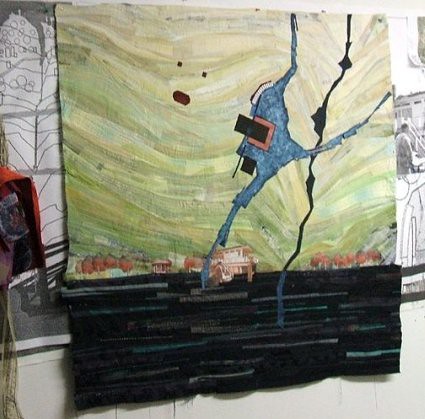
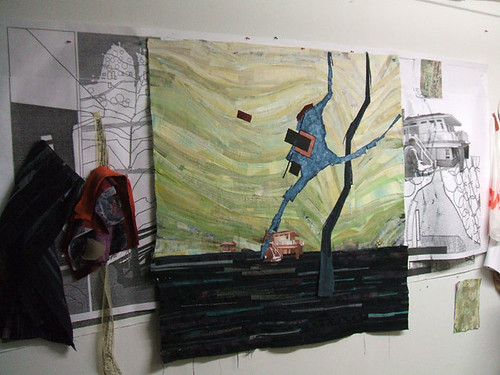
the ground plane, the site contours, the river, the cottage (plan view), the garage (plan view), the summer cottage (plan view), the retaining wall, the cottage (elevation view), the summer cottage (elevation view)
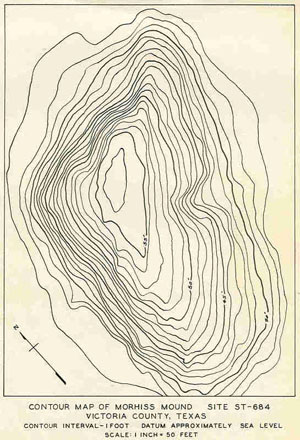
What are site contours? When looking at a site map of a piece of property, oftentimes one will see a series of rather wavy lines. Each line represents an incremental change in height across the surface of the land.
Okay....so why is this important?
In this particular quilt, the site contours are a key aspect of the design. The client's property includes a dramatic slope towards Seneca Lake -- absolutely beautiful....that is why the contours are so important.
For each contour, I used a gradation of color from white to yellow to green. I organized several bundles of fabric to correspond to each contour.
Each contour is then cut from the fabric template. I sew strips of fabric onto the contour template using a sew and flip process. No more words now -- I hope that the following slide show is more helpful:
One contour started, now 13 more to go....I'll keep you posted!
As promised I am going to document the construction of the ground plane on this quilt. Conceptually I am looking at it like the earth's strata. In an abstract way I want to represent the layers of the earth's crust onto which the site's cottage and pavilion sit.
First I cut many strips of dark fabric. The goal was to create a 2' high by 8' wide base. I then added the following:
1. Hand stitched lines at varying shallow angles 2. Machine appliques strips of fabric places at varying angles to one another. 3. Painted strips -- again at varying angles.
So in other words -- I created layers of linear shapes to create transparency, movement and texture.


